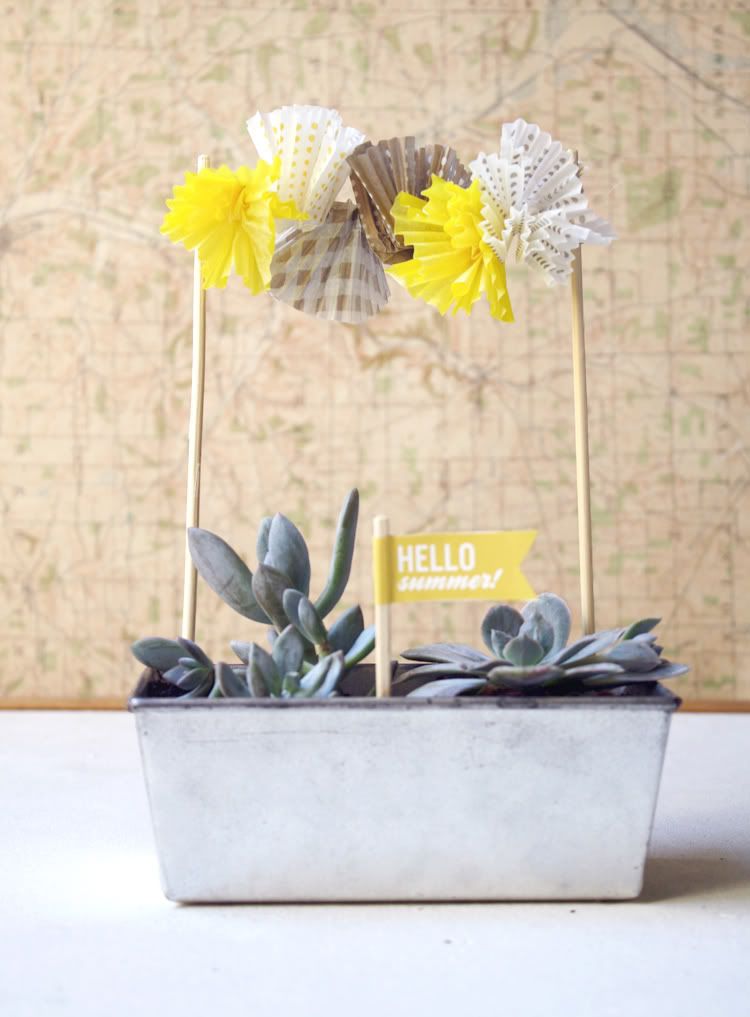
DIY # 4 / Mini Succulent Garden!
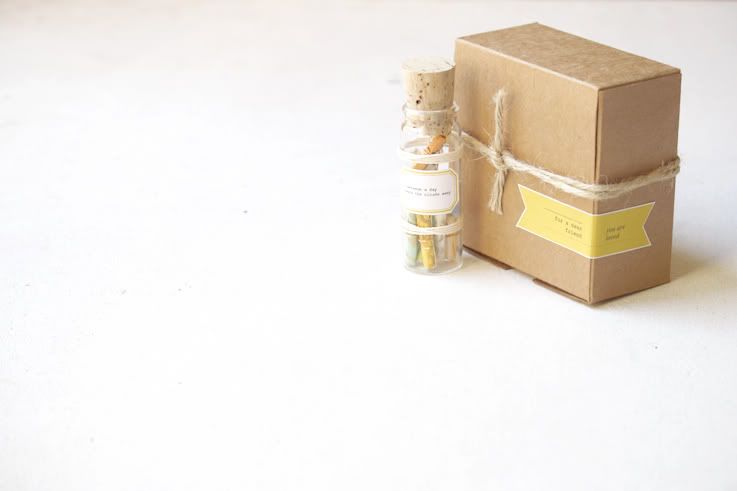
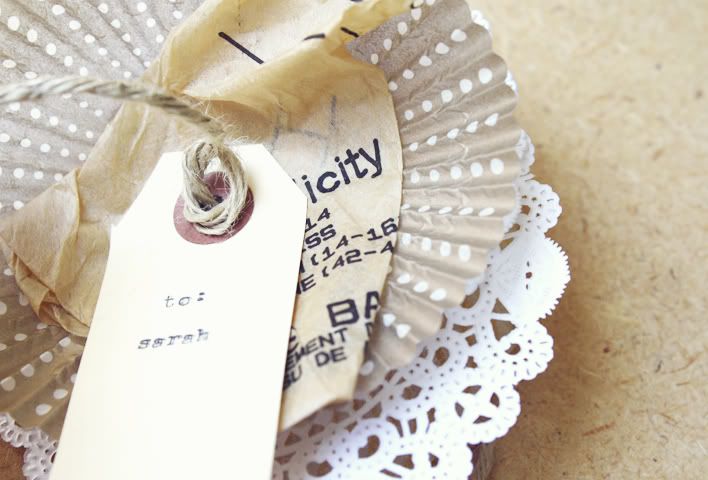
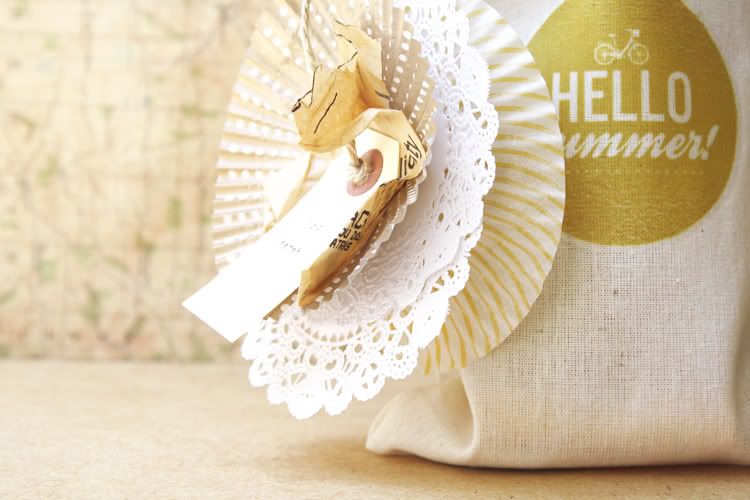
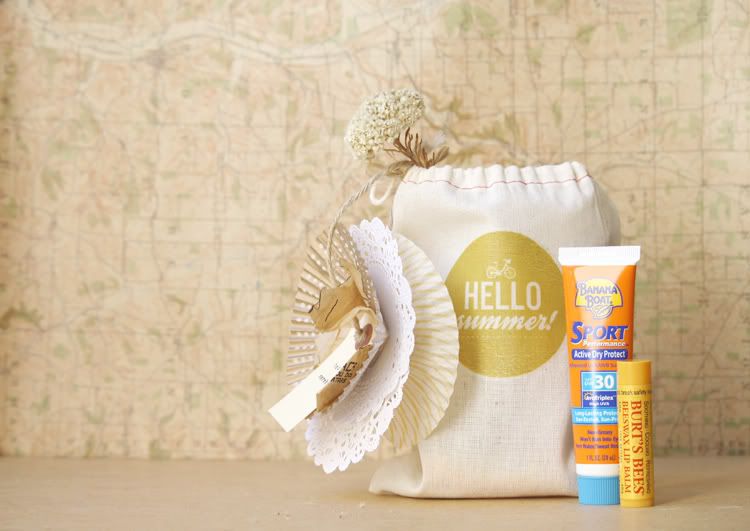
Succulents are always in style. Here's a mini succulent garden, with bunting! This is a fun inexpensive summer afternoon project, and would make a cute gift for a friend.
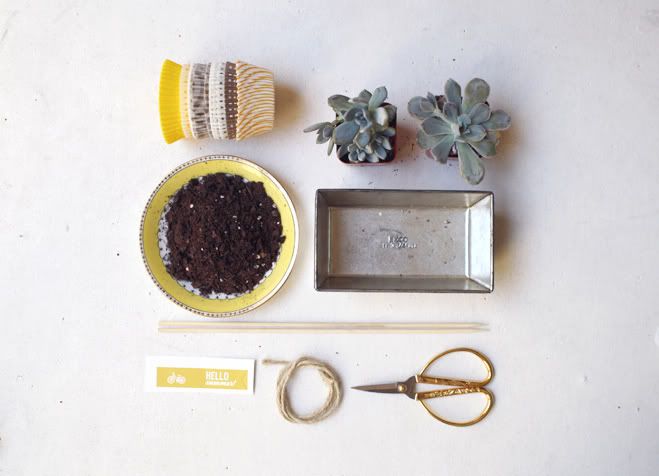
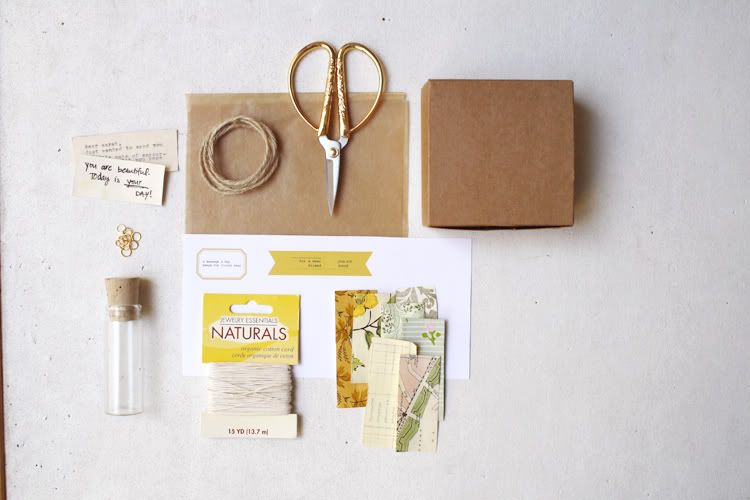
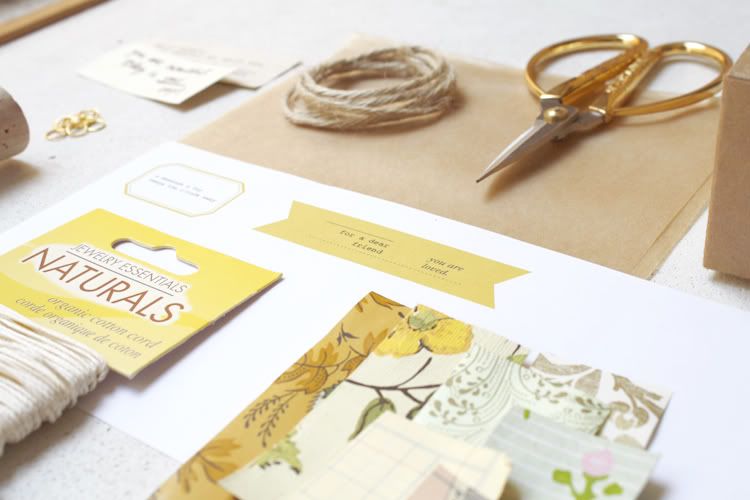
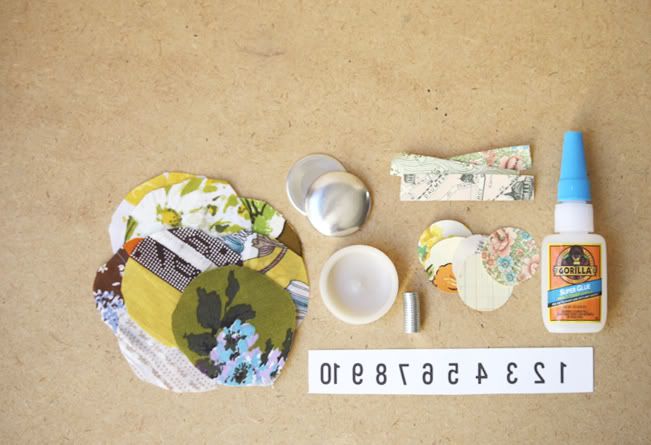
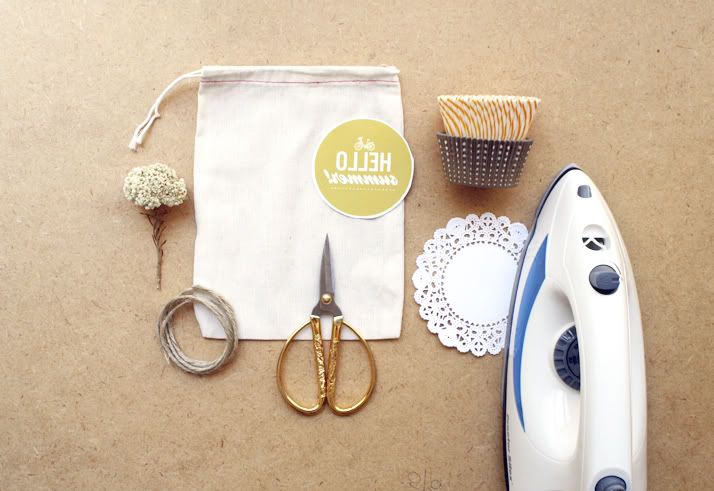
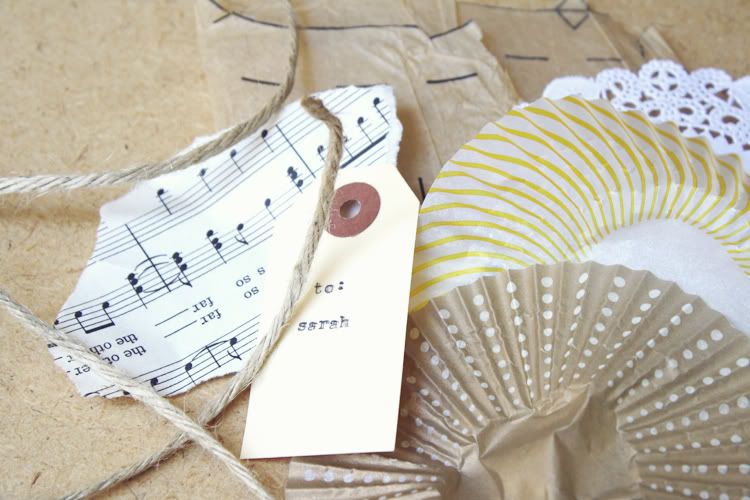
Here's what you need:
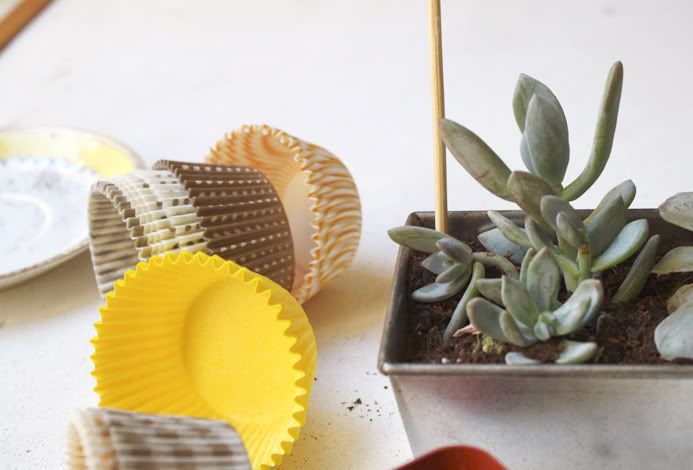
- Cupcake liners
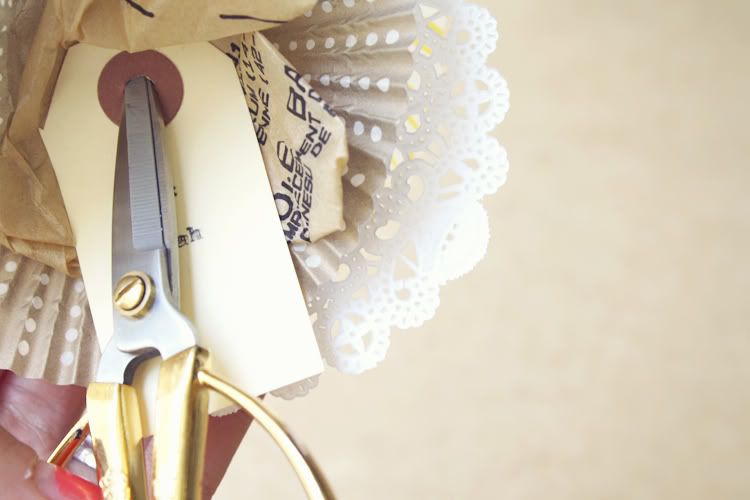
- Scissors
- Small Metal Loaf pan (Found mine at a thrift store for .75 cents!)
- Small Succulents (got mine at the local swap meet, for $1 each)
- Twine
- Potting Soil
- Wood skewer sticks
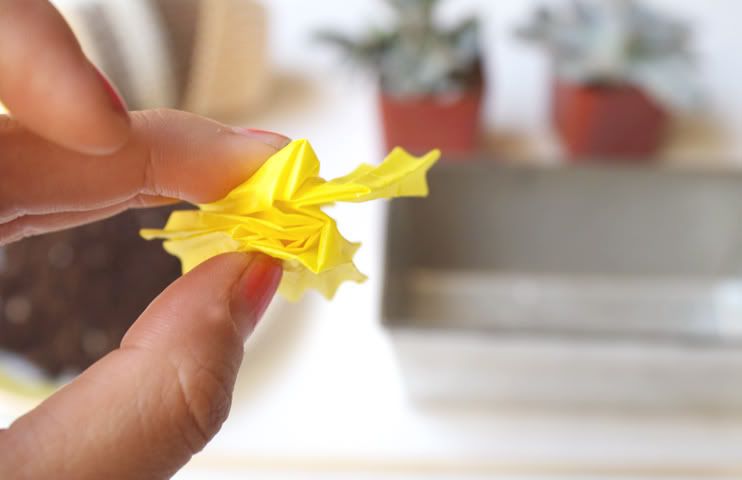
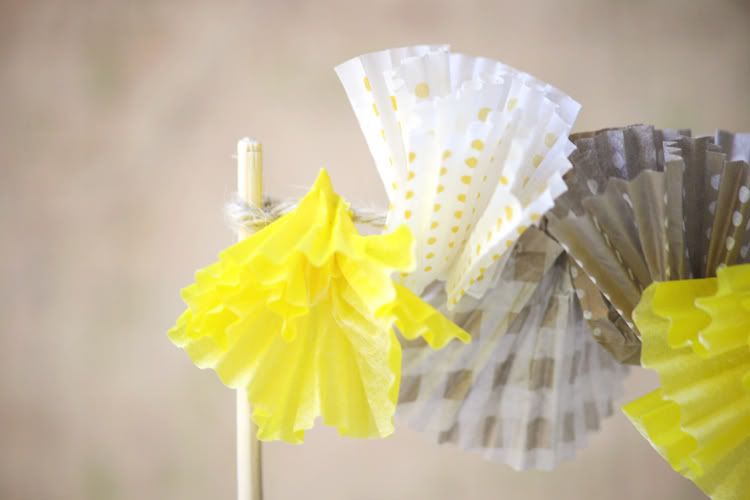
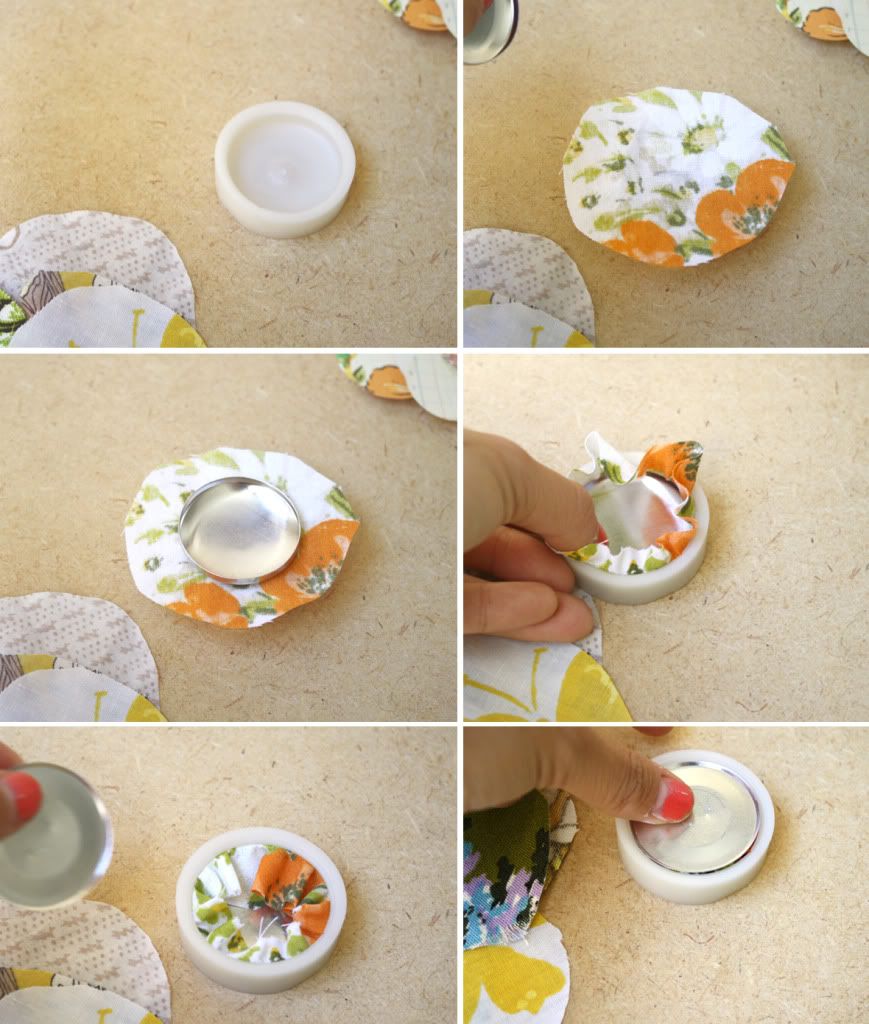
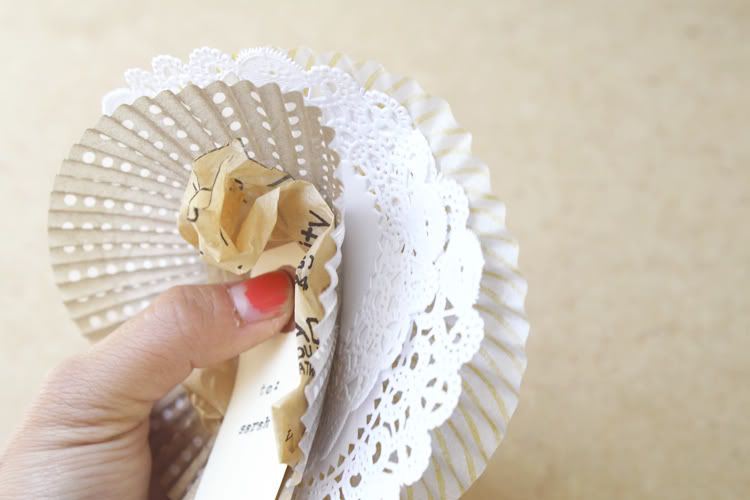
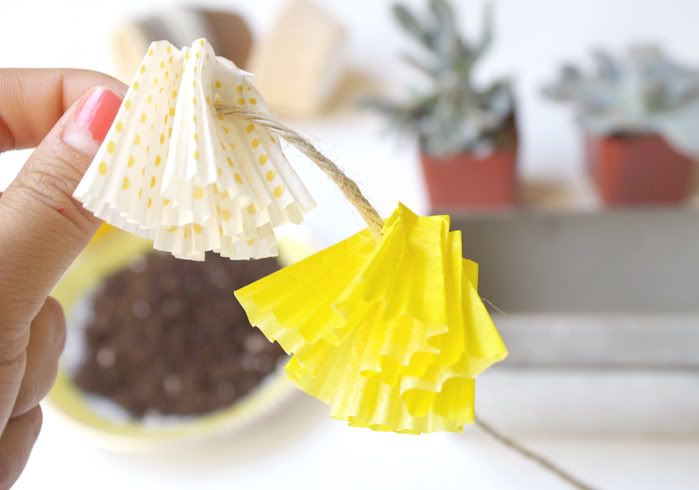
We'll start with the cupcake bunting. So take a cupcake liner and bunch it together.
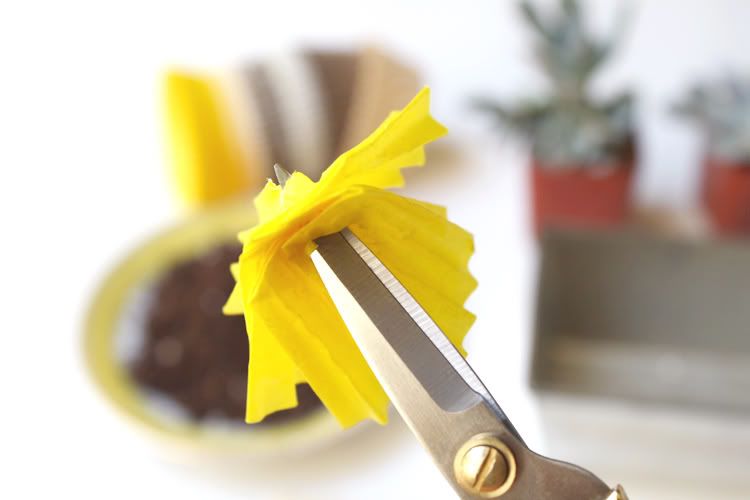
Poke a hole through - be careful not to hurt yourself on this step!
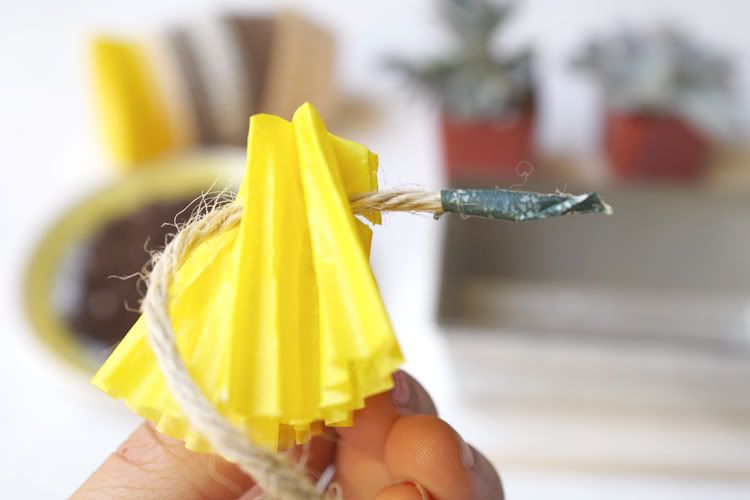
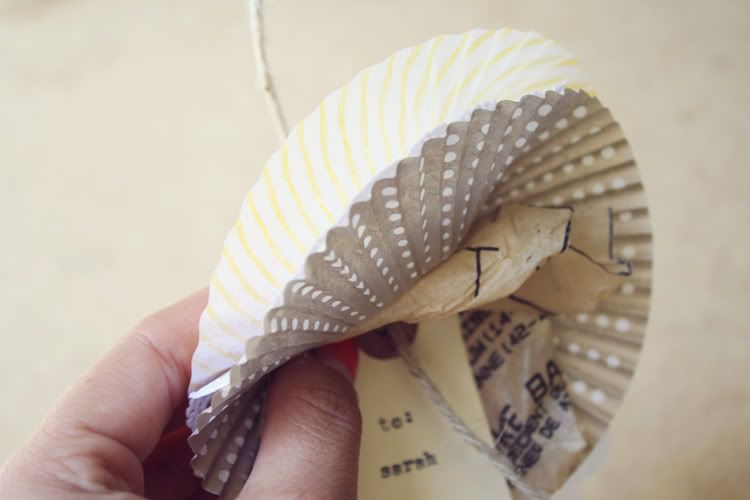
String twine through the cupcake liner. I placed a piece of tape on the end of the twine, so it could thread through easier.
Continue until your garland is long enough for your pan.
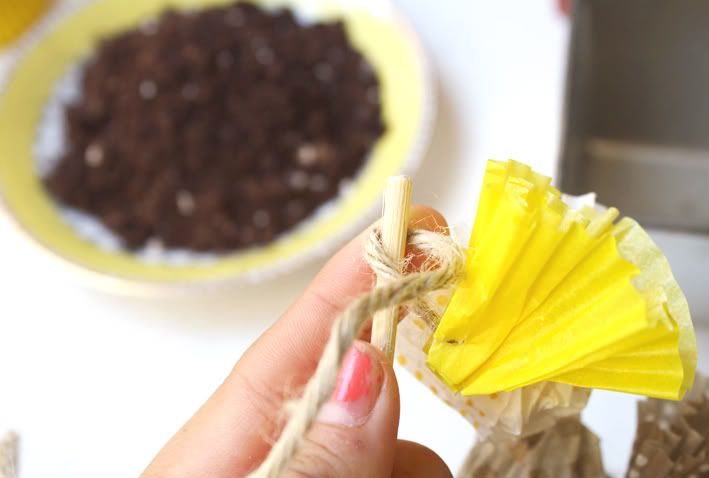
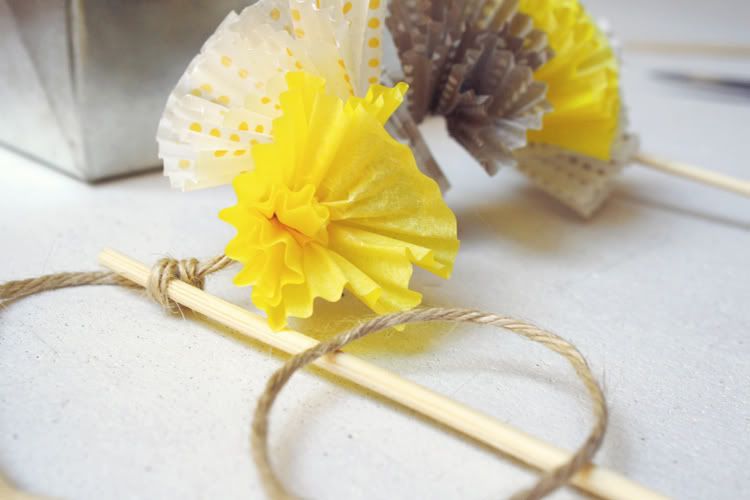
Now tie onto the Skewer sticks and your cupcake garland is all done!
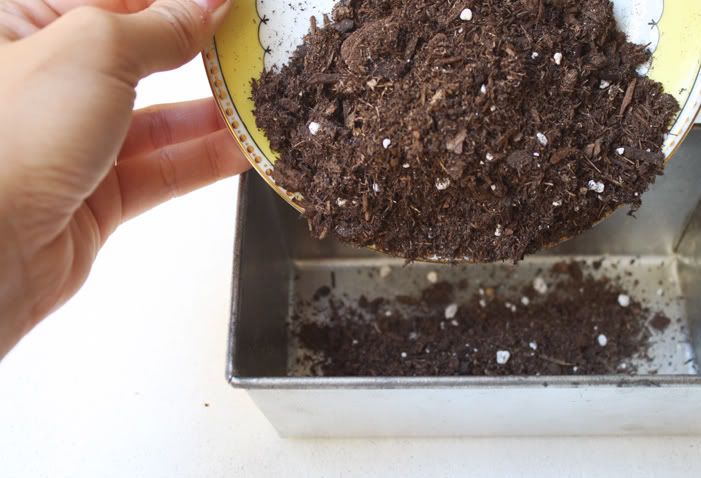
Next, place potting soil into your loaf pan. I filled it up about half way to leave room for the succulent.
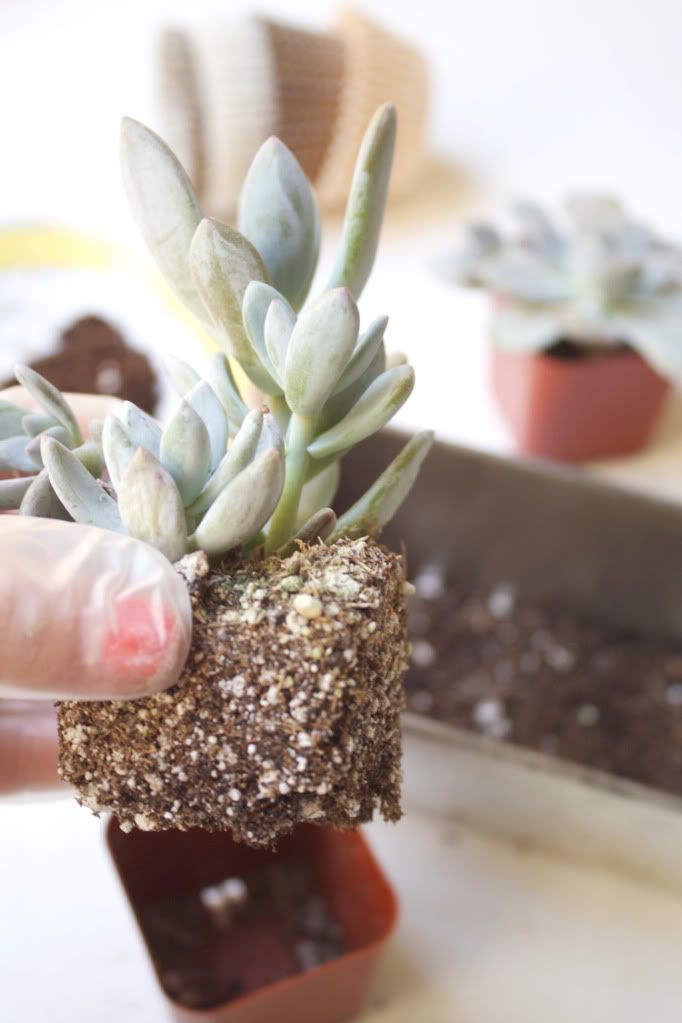
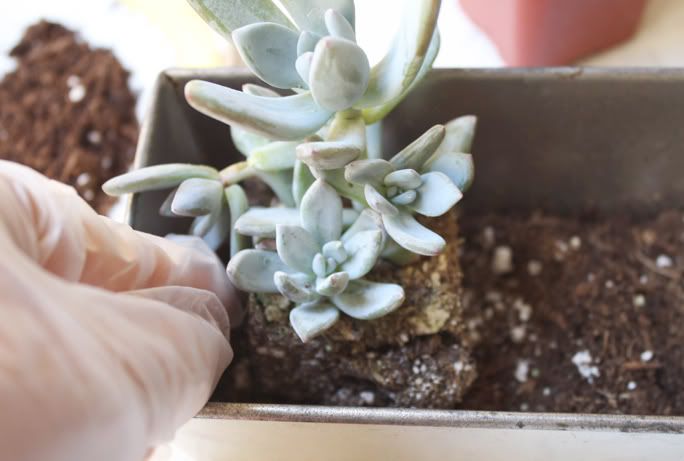
Remove succulents and place them in loaf pan.
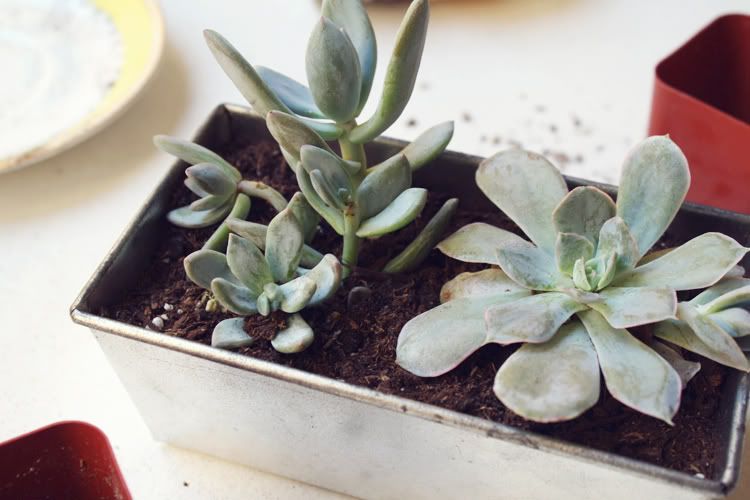
Fill the remaining part with more soil.

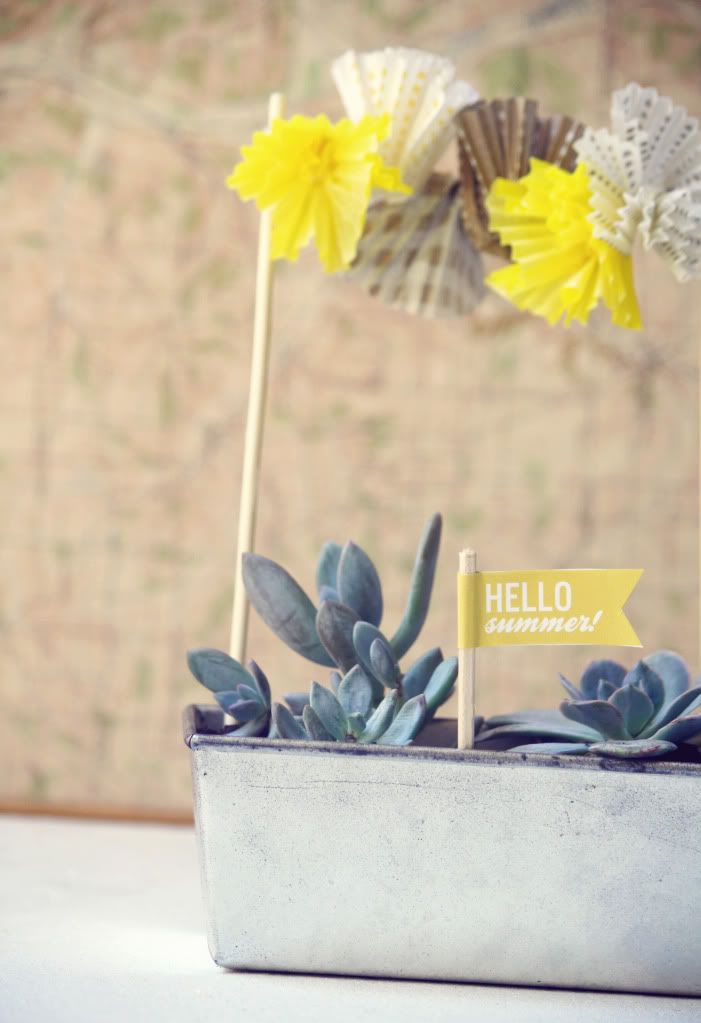
Place cupcake garland in pan and you're done! Now for a finishing touch.
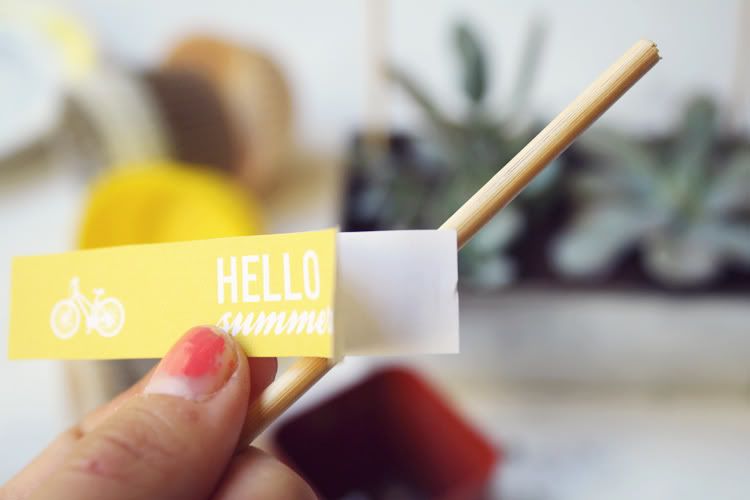
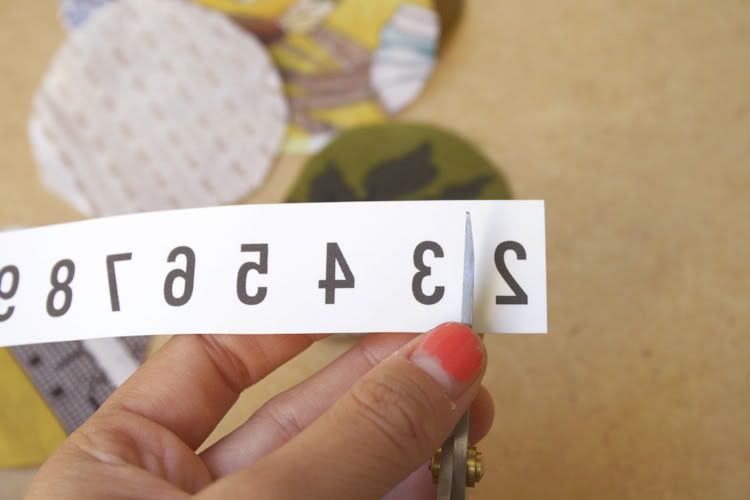
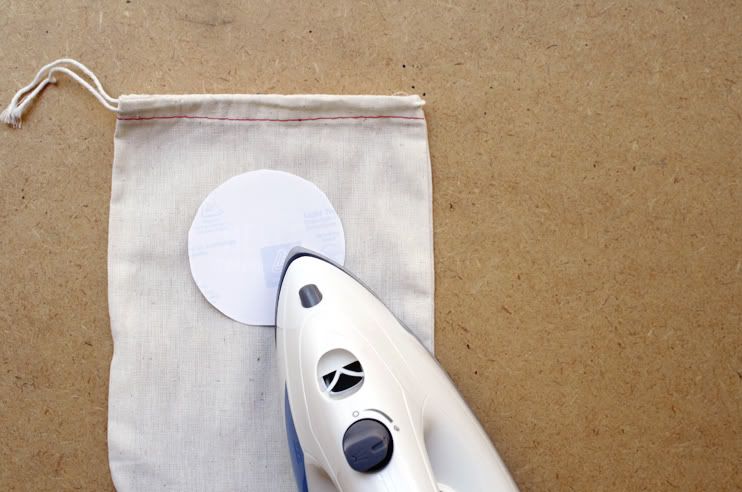
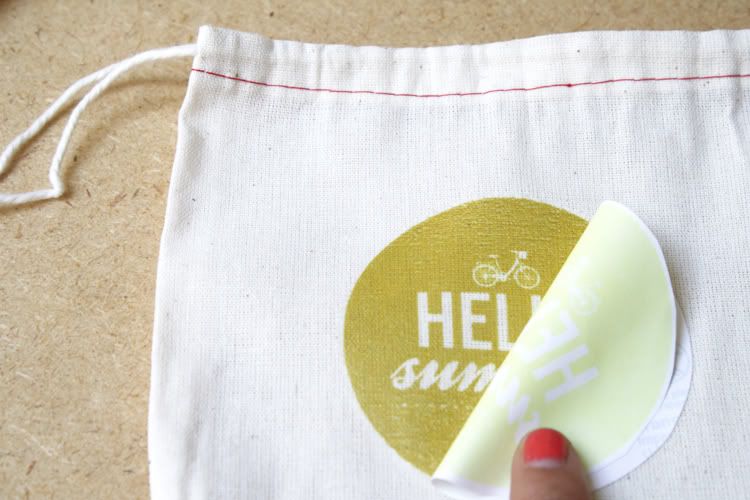
Print out a summer graphic, I used sticker paper so it would stick together when wrapped around. But you can easily use a sheet of paper and just glue it. Cut out and wrap around another skewer stick. Trim down to desired size.
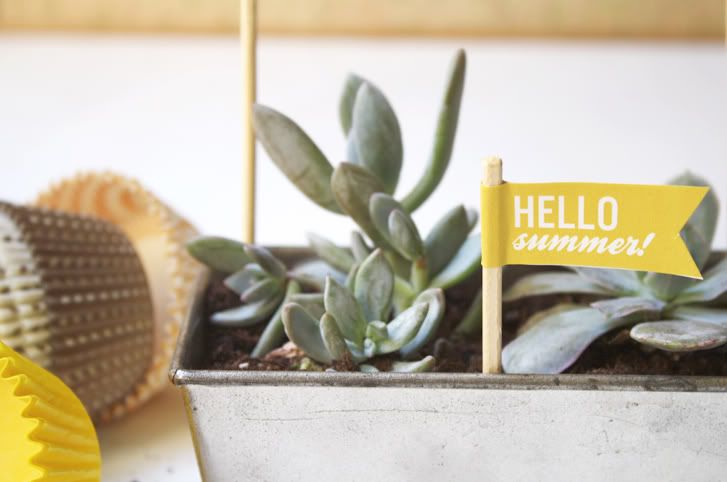
and you have a cute little flag for your garden!